Friday 31 January 2014

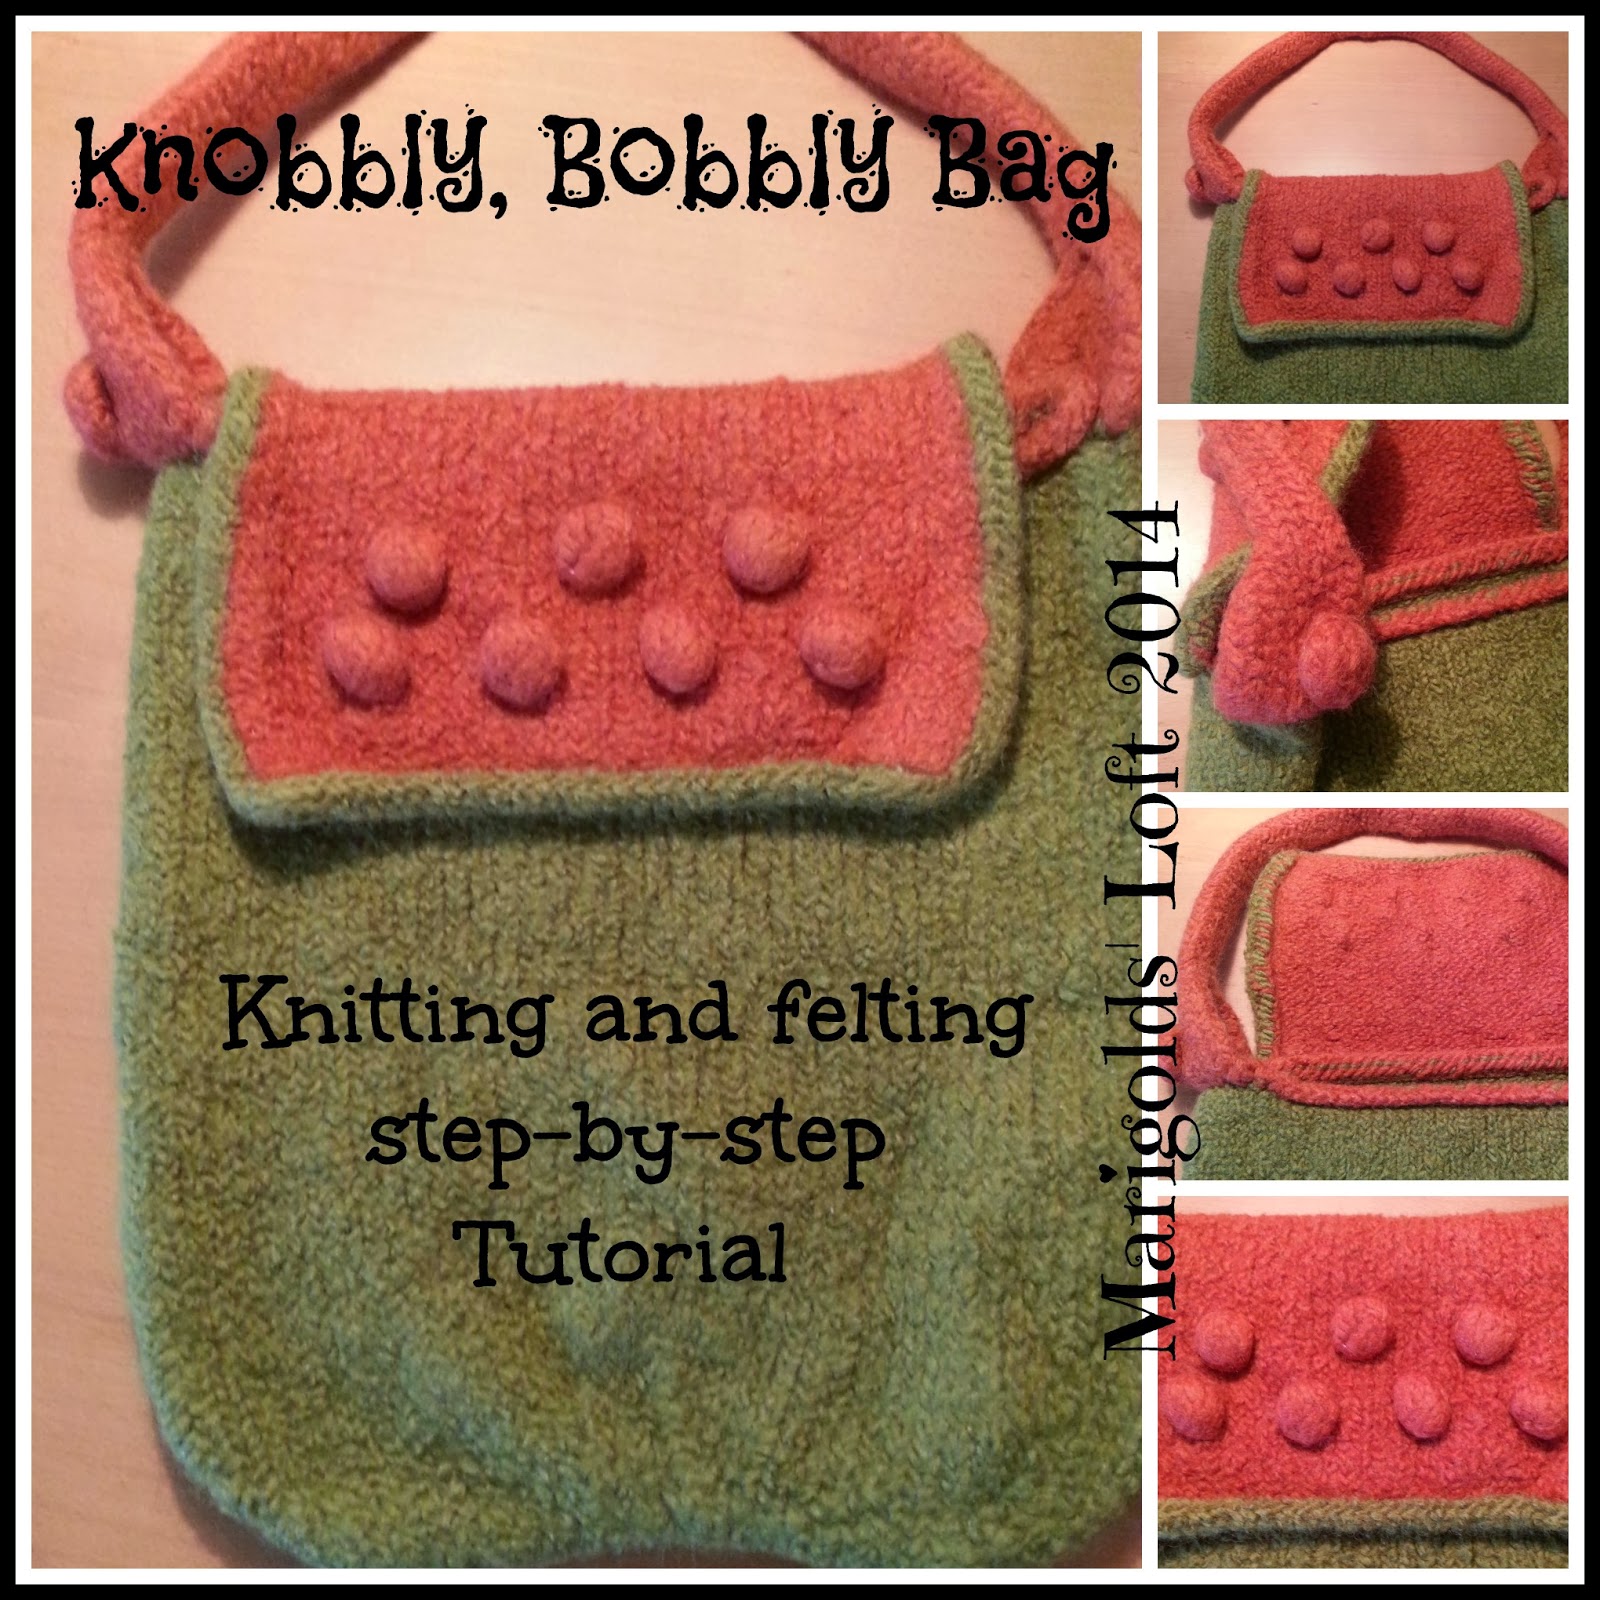
Knobbly, Bobbly Felted Bag

felted bag tutorial, step for step


What a fun month January was!

I had so many lovely people taking part in the mystery KAL where the participants got to knit and felt this bag.

So many awesome finished projects were shared with me that made me swell with pride!

To see some of these projects, join us in the Ravelry Platform.

If you would like to make one of these bags for yourself, the pattern is now available for download and purchase in my Craftsy Store which you can access HERE

This pattern is a great place to start for those of you who have always wanted to attempt felting but not sure how to go about it.
knitting tutorial felting bag

knitting tutorial pattern

"Join me as I guide you through the 8 steps of the pattern with 8 video tutorials as well as a photo tutorial pattern, to help you end up with a simple, yet elegant felted, two toned bag.
In this pattern you will be guided through each individual step from beginning to end and I will be there to help you all along the way.
It is also a perfect first project for beginner knitters as I will teach you all the techniques you will need to create this bag in the tutorial videos and easy to comprehend steps."

Craftsy

Thursday 30 January 2014

Tutorial Challenge for February?

Tutorial Thursdays February Marigolds' Loft

A New Month, A New Tutorial Challenge :)
What else would it be if not - St. Paddys Day!

Here is a Tutorial I shared with you last year for the occasion :)

Felting Fun for St. Paddy's Day

At the end of February I will feature all craft tutorials I find linked below that have to do with St. Patrick's Day.

For a Tutorial to be featured it needs to be photo-rich and in a step-by-step format.

Don't forget - If I feature 3 or more of your tutorials you will get yourself a "Featured" Blogger Post (This only applies if you haven't been featured on Marigolds' Loft over the last 4 months)


Of course you can share all of your creative links below regardless of the theme (if you are looking for a feature your posts will have to be in the theme category though) and I look forward to visiting each and every craft and tutorial that I find linked below, so don't stop linking your stuff, I will visit each link I find below! :)

Have fun!
See you next week.
x


Wednesday 29 January 2014

Valentine Craft Tutorial Features....

Valentine Craft tutorial Round up

Thank you to all of you who linked up throughout the month of January.
It has been wonderful to visit all of your great blogs and witness all your awesome talents.
The month of January had the Theme - Valentines' Day - and as such I would like to show you all the great tutorials that I found linked to this month's linky theme.

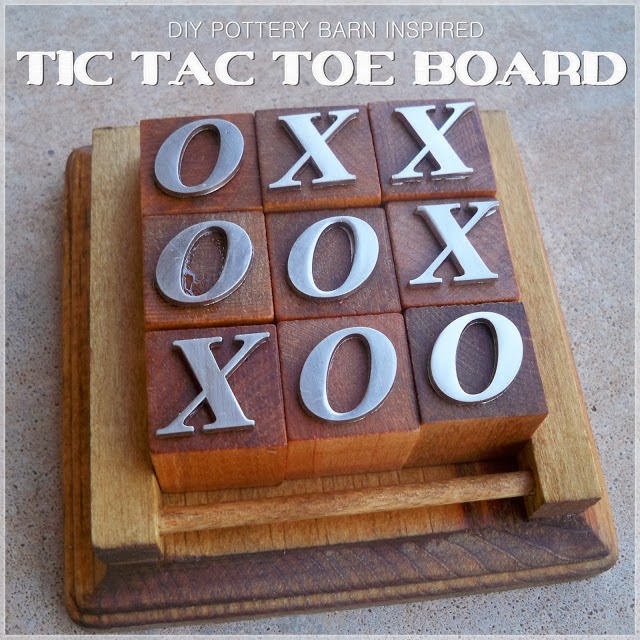
DIY Tic Tac Toe
This amazing, really cute gift idea that was shared by Saxon @ Let's Drink Coffee, Darling


DIY Heart Garland
Saxon also shared this cute Heart Garland

Valentine's Day Wrap
This really cute Red, Valentine's Day Wrap was shared by Millie @ 2 Crochet Hooks

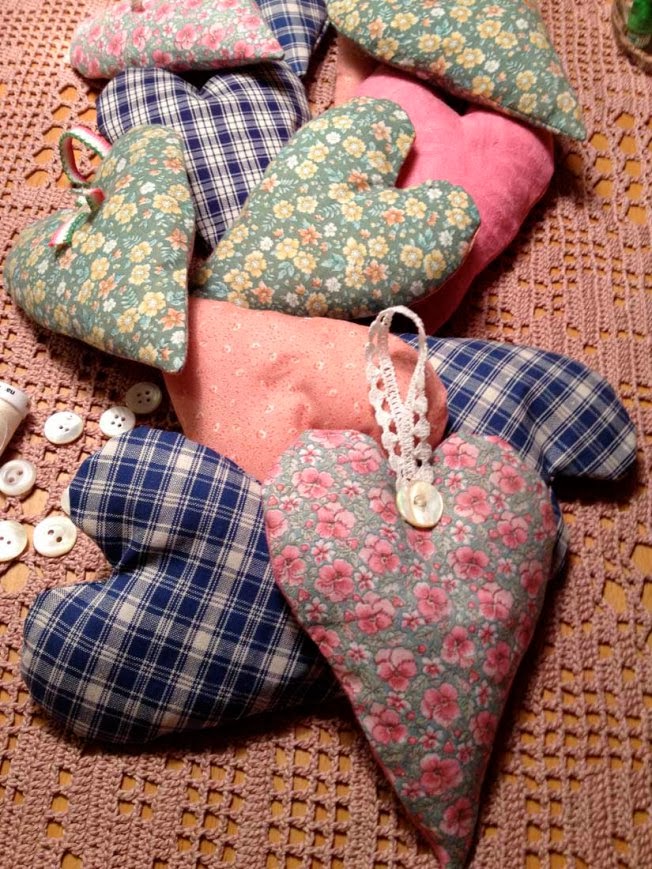
Stuffed Heart cushions
These adorable stuffed hearts were shared by Regula @ Babajezas Wundertüte

Valentine Easel Card
A great Triple Valentine Easel Card shared by Linda @ Stamping with Linda

Thank you one and all for these amazing crafts.
Be sure to grab your Featured Button Below:

Marigolds' Loft

I look forward to seeing all of you again on Thursday for the next edition of Tutorial Thursdays Linky Party.

x


Monday 27 January 2014

Mystery KAL: Part 8 - Final Installment

Knitting Madness - Mystery KAL Part 8

Welcome to the last installment of this Mystery KAL.

This pattern is no longer available on the blog.
You can purchase and download your packed pattern tutorial HERE


felted bag tutorial step-by-step

This week, it is all about felting - the scariest part for most people.

Let me start by telling you that it really doesn't have to be a difficult step. 

I use a front loading machine and have felted many projects in the past, without much fuss at all.

My tip: put your project in the machine, switch it on and walk away. Go and make yourself a coffee and go back when the time is up. Otherwise it may drive you crazy!

This is how I felt my projects with Drops Eskimo.

I place my project in the machine with a bunch of towels (this causes friction which helps the project to felt nicely) and set the machine on a mix wash, 40°C without a pre-wash.

I only add washing powder and some vinegar (I always use vinegar instead of softener, it is great for the colours of the project too :)

Then I switch it on and go with it.
If you have a top-loader you can control the size of your projects, but I must admit I am glad I don't have that option, I think I would constantly be opening up the machine :O

Here is my felting experience with this bag for you :


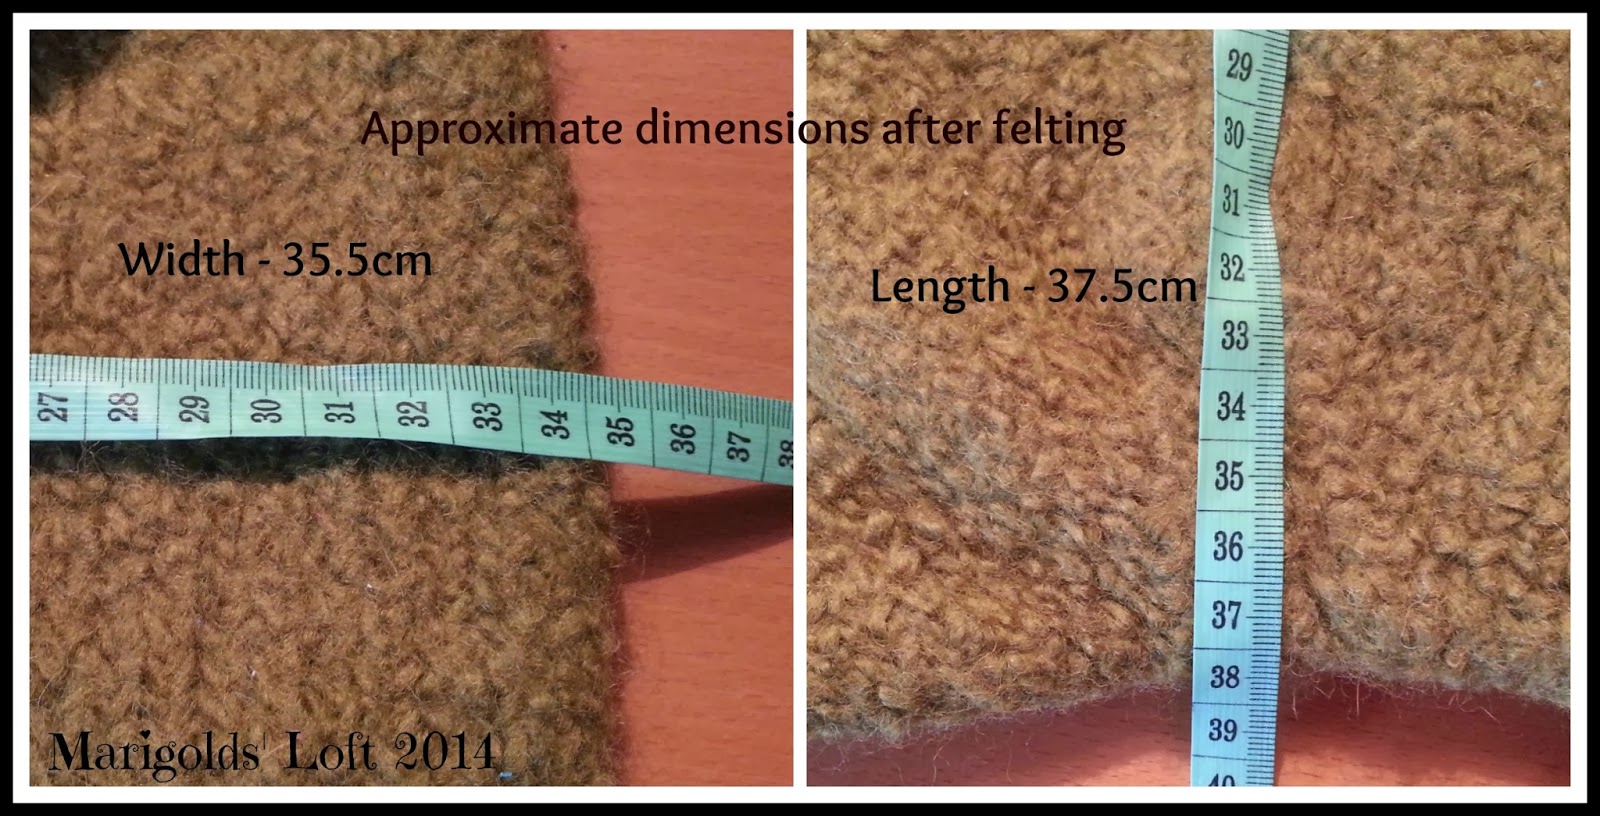
Your finished felted bag should have the approximate dimensions of:
approx 35.5 x 37.5 cm (approx 14 x 15 inches)


felting bag dimesnions

Have you enjoyed this KAL?

I would love to show off some of your projects.

If you are a blogger, link a post below.
If you aren't a blogger, link your project page to the Ravelry Group, share your images, and I will feature your project on the 12th February 2014.

Remember: if you took part in this KAL you may be a winner! Find out more HERE

Don't forget to join me on Friday 31st January for the last Knitting Madness Mystery KAL Hangout - it will take place here on the blog :)
The Knitting Madness Event date has been changed as I am unavailable this evening - sorry about that.

It has been a pleasure going through this KAL with you and I hope it helped you to take a step into the wonderful world of felting goodness!
x

P.S. Please note this pattern is only available for free on the Blog until February 10th 2014

Friday 24 January 2014

Mystery KAL Week 7 :)

Knitting Madness Mystery KAL

Welcome back to the second last section of the mystery KAL :(

This pattern is no longer available on the blog.
You can purchase and download your packed pattern tutorial HERE

Have you had fun with this project?
I have loved watching all your beautiful projects grow!

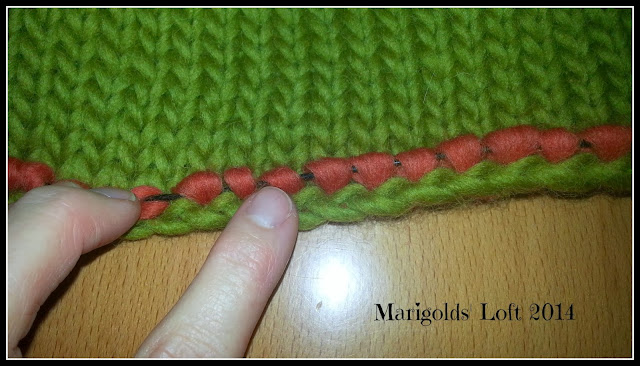
i-Cord edging

How to create an i-Cord Finish

To start, cast on 3 stitches onto your DPNs.

Continue with the i-cord as follows:


1. Knit 2 stitches
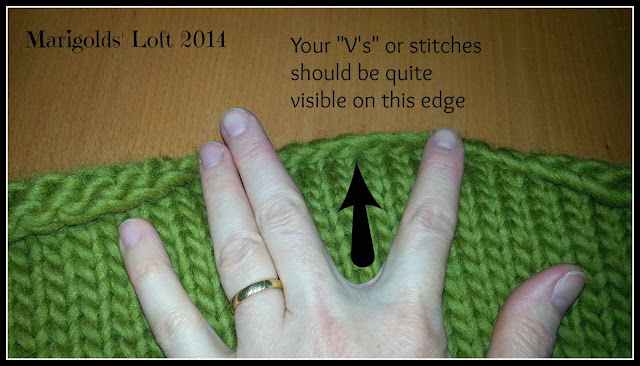
2. Pick up the next "V" on your edge. Only pick up half of the "V" so instead of going under the entire stitch pick up the bit of "V" facing you.
3. Slide the 3rd stitch onto the right needle.
4. Place your left needle back through the 2 stitches and Knit (SSK)

Slide your stitches back to the beginning of the DPN and repeat the steps.

Here this week's Video How-To:


Once finished, sew in all loose ends.

You should now have a completed, knitted bag :)

Your bag should measure: approx. 54 x 41cm.

I look forward to see you next week Tuesday for the last segment of this KAL:

 The felting :)

See you then
x
Please note this pattern will be freely available on the blog for the duration of the KAL only

Craftsy

Thursday 23 January 2014

Last Chance to link for January :)

Tutorial Thursdays Linky Party

Welcome back to a new week of creating and linking...
The Linky will only be open for the next couple of days, so be sure to link your talented creations and crafts :)

At the end of January I will feature all craft tutorials I find linked below that have to do with Valentines Day.

For a Tutorial to be featured it needs to be photo-rich and in a step-by-step format.

Don't forget - If I feature 3 or more of your tutorials you will get yourself a "Featured" Blogger Post (This only applies if you haven't been featured on Marigolds' Loft over the last 4 months)


Of course you can share all of your creative links below regardless of the theme (if you are looking for a feature your posts will have to be in the theme category though) and I look forward to visiting each and every craft and tutorial that I find linked below, so don't stop linking your stuff, I will visit each link I find below! :)

Have fun!
See you next week when I will will share all the wonderful featured valentine crafts of this month with you.
x


Tuesday 21 January 2014

Mystery KAL Part 6

Knitting Madness Mystery KAL Part 6

Your bag should slowly be taking form by now :)

This pattern is no longer available on the blog.
You can purchase and download your packed pattern tutorial HERE

This week's challenge is the straps/handles of your bag.

attaching i-cord straps to a bag how to

For this part of the project you will need 3 x 9mm DPNs. 
You will only be working on 2 DPNs at a time. (The extra DPN will be used to hold your stitches whilst knitting the other strap)
2 threads of your contrast colour (we will be knitting using double thread).

In this section you will be using the techniques already learned in this KAL - Bobbles, Picking up and Knitting, and Kitchener Stitch.

To refresh those techniques please follow the links.

Abbreviations:


DPNs - Double Pointed Needle

WS - Wrong Side
RS - Right Side
K - Knit
P - Purl
P5tog - Purl 5 together
K2tog - Knit 2 together
pm - Place marker

*Bobble pattern: (Use for bobble section in the pattern)


RS (in next stitch): K1, YO, K1, YO, K1 (you will have created 5 stitches in the 1 stitch)

Turn work

WS: P5

Turn work

RS: K5

Turn work

WS: P5

Turn Work

RS: K5 pm


Here is this week's Clue:


Begin by moving your center marker 5 stitches in the opposite direction to the marker next to the lid. You should now have 10 stitches between the markers.


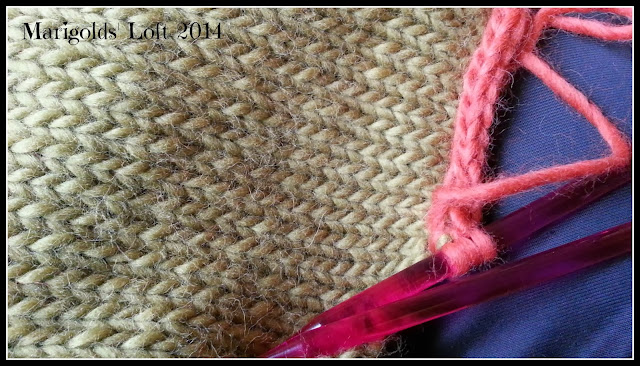
Now using 2 of your DPNs pick up and knit, in double thread, the 10 stitches between the markers.

Knit 4 rows in Stockinette Stitch, end on a WS.

Next Row (RS): K4, *Bobble, K to end
Next Row (WS): P till marker, P5tog, P to end.

Knit 4 rows in stockinette, end in WS.

Next Row (RS): K1, K2tog, K to 3 stitches before the end K2tog, K1 (8 stitches remaining)
Next Row (WS): Purl
Next Row (RS): K3, K2tog, K3 (7stitches remaining)
Next Row (WS): Purl

Next row begin with your i-cord. (watch the video below to see how this is done)

Continue in i-cord for 40 rows.

Leave first strap on the DPN you have it on and create the second strap in the same manner with the other DPN.

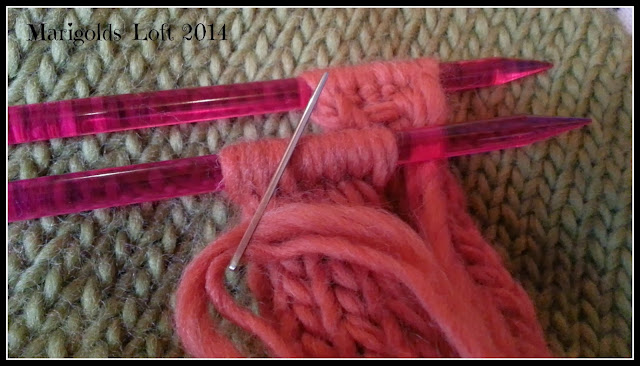
Once straps are finished, use Kitchener stitch to sew them together.

kitchener stitch

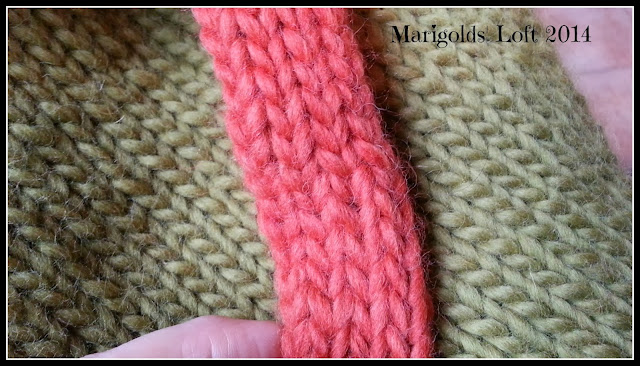
completed i-cord strap.

Here is this week's video How-To.


How are you enjoying the pattern thus far?

See you next week
x


Craftsy

Friday 17 January 2014

Knitting Madness Hangout

Knitting Madness hangout

Welcome back to the second hangout for the Mystery KAL taking place at the moment here and on the Ravelry Group.

Tonight I will be discussing the steps that you have progressed through until now.

This event will be streamed below and on the event page as it takes place and will also be available after the event on my Youtube Channel.

You can find a Q and A section which will be available over on the Event page as soon as the event goes live.

This event will take place at 9:00pm Central European Time (3:00pm EDT)


Craftsy

Mystery KAL Part 5

Knitting Madness Mystery KAL Part 5

Part 5 - now for the cool, patterny part LOL!

In this part I am going to show you how to create........... BOBBLES!


how to knit bobbles


Yeah - the lid of the bag has a bobble pattern included in it. I wanted to add a bit of texture, and show you how easy it can be to create something that does look rather complicated to do!

Are you ready?
Let's go...

This pattern is no longer available on the blog.
You can purchase and download your packed pattern tutorial HERE

Abbreviations:

K - Knit

P - Purl
YO - Yarn Over
RS - Right Side
WS - Wrong Side (purl side)
pm - place marker
p5tog - Purl 5 Together

You can find the various stitch techniques explained in a photo tutorial format HERE or below in this week's video


*Bobble pattern: (Use for each bobble section in the pattern)


RS (in next stitch): K1, YO, K1, YO, K1 (you will have created 5 stitches in the 1 stitch)

Turn work

WS: P5

Turn work

RS: K5

Turn work

WS: P5

Turn Work

RS: K5 pm


xxx


After completing your rows from last week, you continue the pattern as follows:

Row 1 (RS): K9, *Bobble, K7, *Bobble, K7, *Bobble, K10

Row 2 (WS): °P until marker, remove marker, p5tog° (°-° Repeat until end of row)

Knit in stockinette for the next 6 rows ending in a WS.


Next row: (RS) K7, *Bobble, K6, *Bobble, K6, *Bobble, K6, *Bobble, K7

Next Row (WS): °P until marker, remove marker, p5tog° (°-° Repeat until end of row)

Knit in stockinette for the next 8 rows and then cast off.


Here is the video How-To for this week


Don't forget:

Tonight I will be LIVE here on blog or on the Event Page to answer all of your project questions.
See you then
x

Please note this pattern will be freely available on the blog for the duration of the KAL only
Craftsy

Thursday 16 January 2014

Tutorial Thursdays Linky Party - January

Tutorial Thursdays Linky Party

Welcome back to a new week of creating and linking :)

Here is my Valentine's Day Candle Holder craft which I shared with you last year :)


At the end of January I will feature all craft tutorials I find linked below that have to do with Valentines Day.

For a Tutorial to be featured it needs to be photo-rich and in a step-by-step format.

Don't forget - If I feature 3 or more of your tutorials you will get yourself a "Featured" Blogger Post (This only applies if you haven't been featured on Marigolds' Loft over the last 4 months)


Of course you can share all of your creative links below regardless of the theme (if you are looking for a feature your posts will have to be in the theme category though) and I look forward to visiting each and every craft and tutorial that I find linked below, so don't stop linking your stuff, I will visit each link I find below! :)

Have fun!
See you next week.
x


Wednesday 15 January 2014

Mystery KAL Part 4.

Knitting Madness Mystery KAL Part 4

Can you believe it - already part 4 of this mystery KAL!

If you have missed part 3 you can find it HERE

This pattern is no longer available on the blog.
You can purchase and download your packed pattern tutorial HERE

How are you coping with the pattern and the instructions?

I would love to hear from you below :)

Let's get on to the next step of our project!

This week we are going to attach a lid to our bag. For this part of the project you will be using your contrasting colour.

You will also need 4 (2 sets of 2  - coloured) markers and your 9mm circular needles.

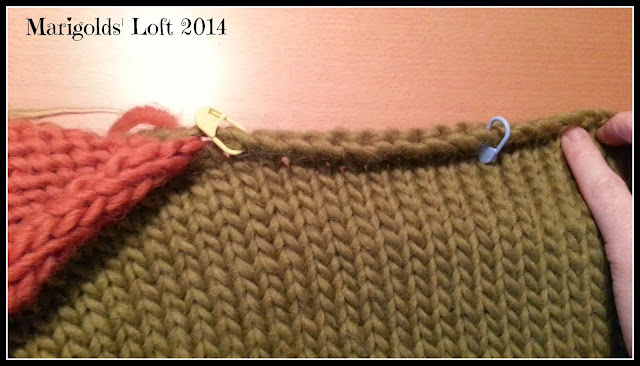
Begin by marking the beginning and middle of the top of your bag with two markers.
To do this, place your first marker in your first stitch (where the yarn tail is). 

Pick up and Knit how to

Now count 46 "V's" (stitches) either way and place your 2nd marker. 

Take your second set of markers and count 5 stitches backwards from each marker and place the markers there.

how to mark the upper edge of the bag

Using your contrasting colour pick up and knit 36 stitches between the two blue arrows. So between the yellow markers in my image - not the blue markers!


pick up and knit how to

Once you have the 36 stitches on your needle continue back and forth on the needle in stockinette stitch (1 row knit, 1 row purl) for 19 rows. End with a wrong side row.

Here is the next step for you in this week's video :)


I look forward to watching your projects grow and would love to see you pictures posted on the Ravelry group page.

See you next time.
x
Please note this pattern will be freely available on the blog for the duration of the KAL only


Online Sewing Class

Blog Archive