Can you believe it - already part 4 of this mystery KAL!
If you have missed part 3 you can find it HERE
This pattern is no longer available on the blog.
You can purchase and download your packed pattern tutorial HERE
If you have missed part 3 you can find it HERE
This pattern is no longer available on the blog.
You can purchase and download your packed pattern tutorial HERE
How are you coping with the pattern and the instructions?
I would love to hear from you below :)
Let's get on to the next step of our project!
This week we are going to attach a lid to our bag. For this part of the project you will be using your contrasting colour.
You will also need 4 (2 sets of 2 - coloured) markers and your 9mm circular needles.
Begin by marking the beginning and middle of the top of your bag with two markers.
To do this, place your first marker in your first stitch (where the yarn tail is).

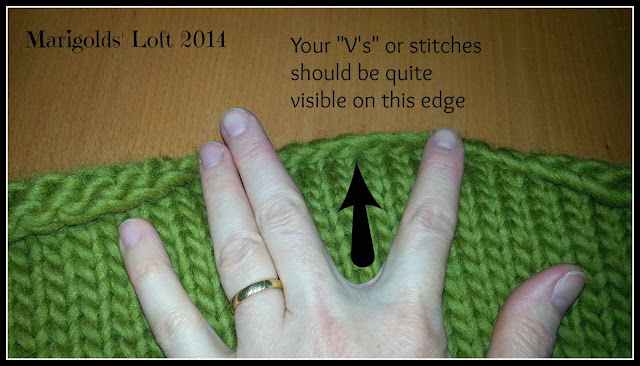
Now count 46 "V's" (stitches) either way and place your 2nd marker.
Take your second set of markers and count 5 stitches backwards from each marker and place the markers there.

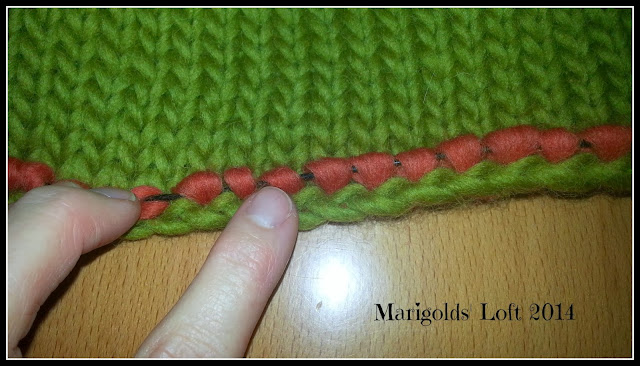
Using your contrasting colour pick up and knit 36 stitches between the two blue arrows. So between the yellow markers in my image - not the blue markers!

Once you have the 36 stitches on your needle continue back and forth on the needle in stockinette stitch (1 row knit, 1 row purl) for 19 rows. End with a wrong side row.
Here is the next step for you in this week's video :)
Here is the next step for you in this week's video :)
I look forward to watching your projects grow and would love to see you pictures posted on the Ravelry group page.
See you next time.
x
Please note this pattern will be freely available on the blog for the duration of the KAL only


No comments:
Post a Comment
Thanks for visiting my site and leaving a comment, I really appreciate each and every one.
I will reply to each of your comments, sometimes it does take a while to get around to all of them, but I will reply within 24 hours of you posting. :)